Activations: activating your experiment & payments
To record new participant sessions in VERA, you will need to Activate your experiment. Activation represents the process of opening your experiment to a select number of participants.
Each participant dataset you choose to approve will cost a single token from your experiment’s activation budget. This section will walk you through the process of activating your experiment and managing your activation budget.
Before continuing with this section, it is useful to understand the different types of experiment states (Draft, Collection), and the different activation states (Active, Inactive, Paused). For more details on these states, see the Activations: overview section.
Understanding VERA tokens
In VERA, a single Token represents a virtual currency which can be used to pay for a single participant’s dataset. In other words, 1 Token = 1 Participant Session.
Tokens are purchased to and stored in Token Allocations. To see your available allocations and their corresponding token balances, navigate to the Payments page in the VERA dashboard (click your profile picture in the top-right corner and select Payments from the dropdown menu).
You may purchase additional tokens for a particular allocation at any time by clicking the “Add tokens” button for a particular allocation. You may freely transfer tokens between allocations at any time by clicking the “Transfer tokens” button for a particular allocation.
Every single VERA Token can be described by one of three Token States:
Available: The Token is available to be used and is not currently reserved for use by any experiment.
Held: The token is currently reserved for use by an experiment. The token is not available to be used by any other experiment.
Spent: The token has been spent to approve a participant’s dataset and allow that dataset to be downloaded. The token may not be used again.
Activating your experiment & reserving tokens
If your experiment is in Collection Mode, you will be able to Activate your experiment from the Experiment Results page of the experiment. Click the Activate button at the top of the page to open the activation dialogue.
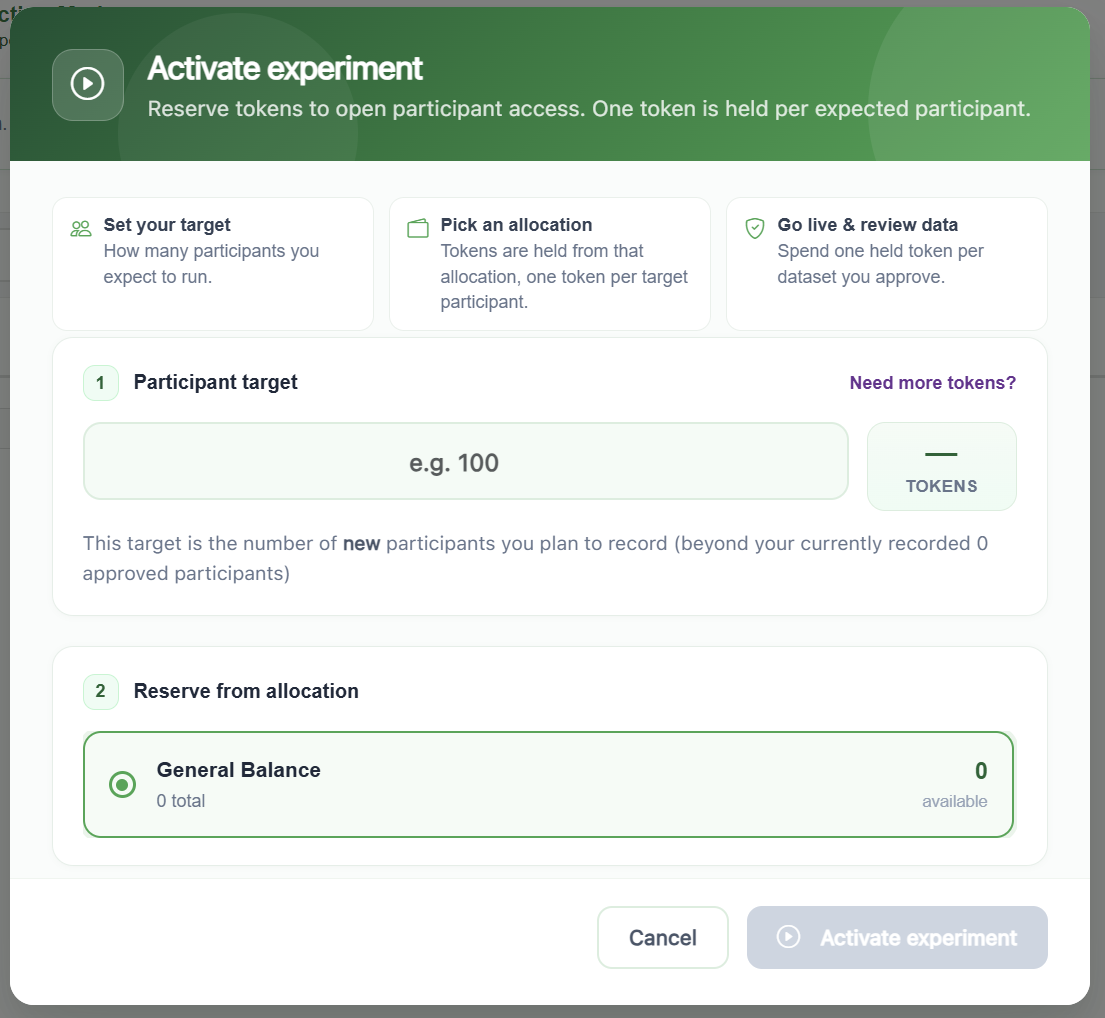
In this dialogue, you will be able to configure how many participants you expect to record during this activation cycle. For each participant you plan to record, you will need to reserve a single token from your experiment’s activation budget.
Choose how many participants you plan to record during this activation cycle, and select which allocation you would like to use to pay for these participants.
Note
Any tokens you reserve will NOT be immediately spent - they will safely remain in your allocation’s balance until you approve a participant’s dataset. Tokens are ONLY spent when you manually choose to approve a participant’s dataset.
Reserving tokens merely ensures that you have enough tokens available to pay for the participants you plan to record during this activation cycle.
Once you activate your experiment, a progress bar will appear at the top of the page to indicate the progress of the activation cycle. This bar will fill up as new participants join the experiment.

Next, consider reading the Activations: managing participants section to learn how to manage participants during data collection, including how to approve participant datasets and download their data.