Web interface: overview
The VERA suite of tools is divided into two primary components: the VERA web interface and the VERA Unity plugin. This section will guide you through an overview of the VERA web interface and its various components.
The VERA web interface
The VERA web interface allows researchers to manage their experiments, view data, and interact with the VERA platform. The web interface is meant to interface directly with the VERA Unity plugin, which is used to create and run XR experiments in Unity. For more details on this plugin and its usage, see the Unity plugin: overview section.
Note
The VERA web interface is the primary hub for managing your experiments and viewing recorded data. The actual experiment creation and data logging is handled by the VERA Unity plugin.
Before continuing, review the following terminology used to describe the relationship between the VERA Unity plugin and the VERA web interface.
VERA Terminology Overview
Experiments: Each experiment represents a single research study or project. You can create multiple experiments, each with its own set of file types and participant sessions.
File Types: Each experiment can define multiple file types, which represent what data you will be collecting and in what format. For example, you might define a CSV file type for logging positional data, or a JSON file type for logging questionnaire responses.
Conditions: Each experiment can define multiple independent variables, each of which can be set to different values during an experiment. These independent variables can be used to place participants under different conditions during the experiment.
Participant Sessions: Each experiment can have multiple participant sessions. Each session represents a single participant taking part in the experiment, and all data logged during that session will be associated with that participant.
Storage: The VERA web interface provides storage for the logged data, allowing you to view and analyze the data collected during your experiments.
WebXR and Hosting: The VERA web interface hosts your experiments in WebXR format, allowing participants to interface with the experiment directly through their own personal web browser, without the need for any download.
Logging In
Enter the following link into your web browser:
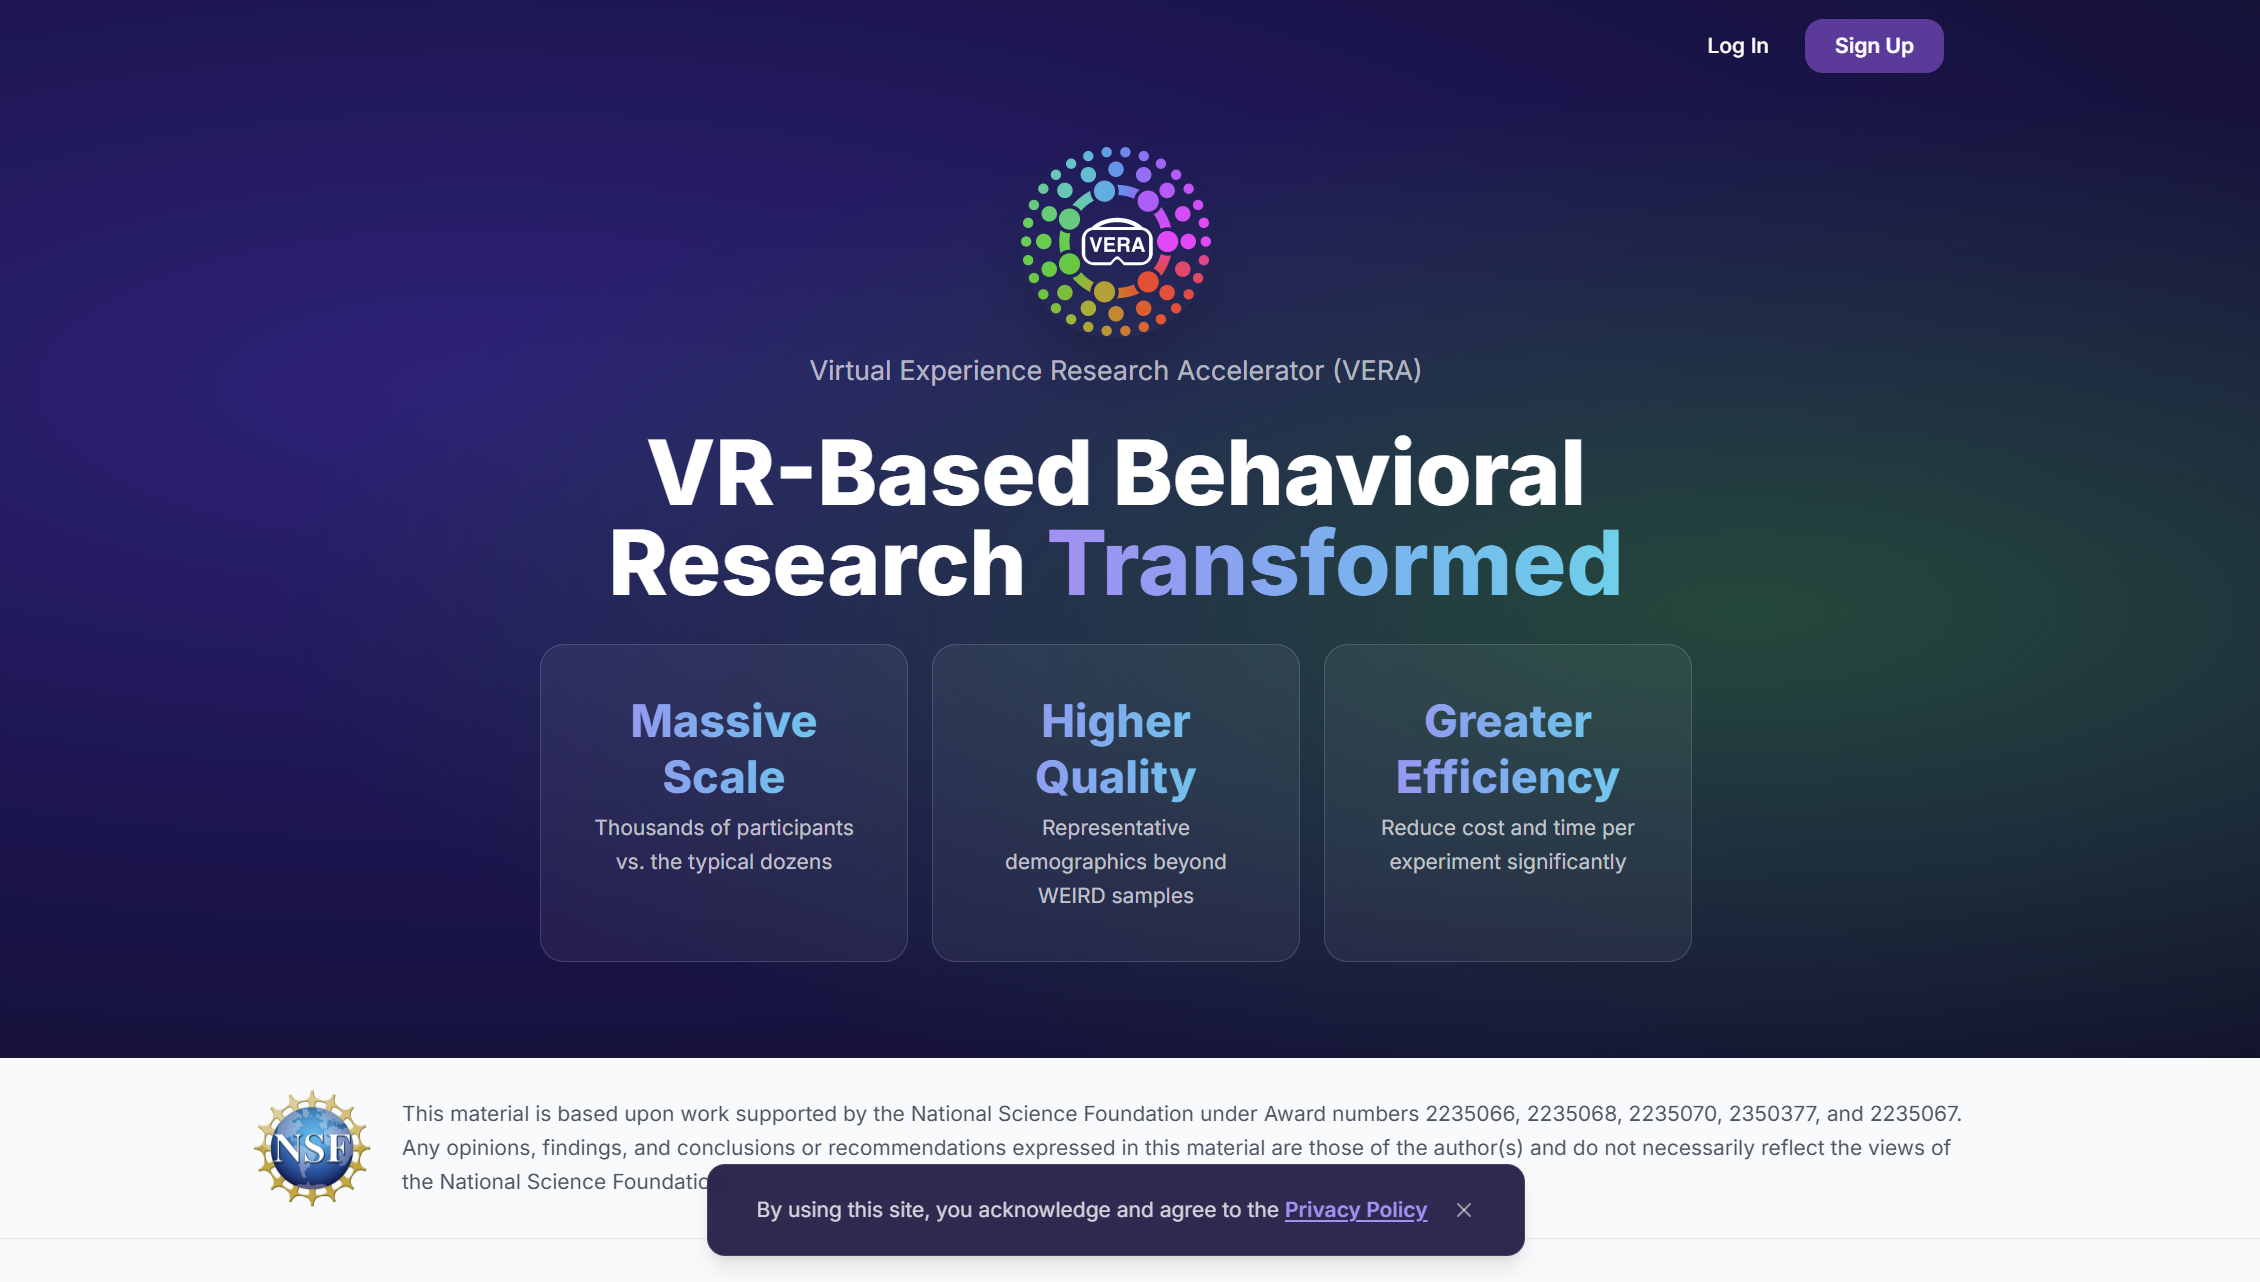
Create your account with VERA. Click the Sign Up button, and enter your information. You will need to verify your email address before you can log in.
Once you have verified your email, you will be prompted to set up your account. Here, you can define your name, institution, and other relevant information.
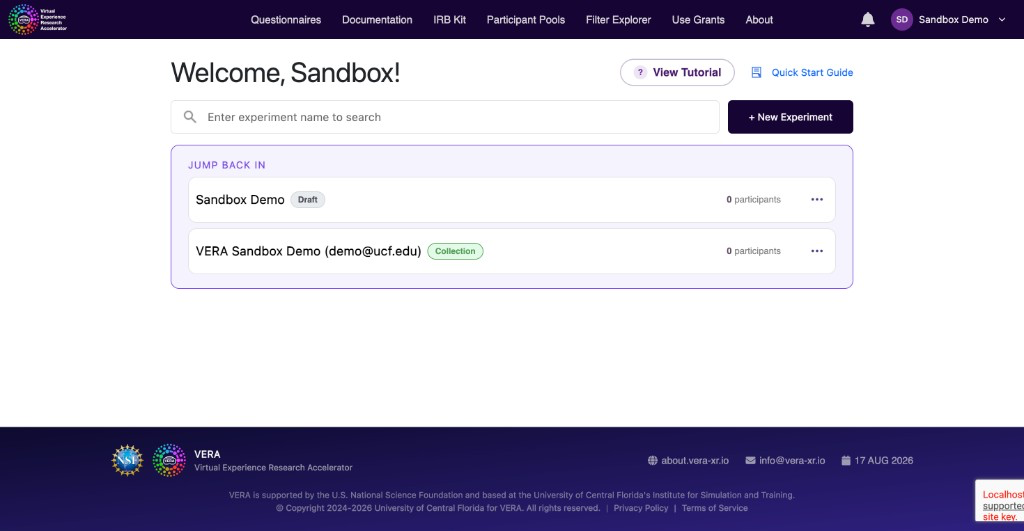
After setting up your account, you will be redirected to the dashboard. This is where your experiments will be listed. Your account should be created with a simple demo experiment.
Pages and Navigation
The VERA web interface consists of several key pages that allow you to manage your experiments and view data. Here are the main pages you will encounter:
Dashboard
The Dashboard is the main page you land on after logging in. Here, you can see all experiments you have created or are collaborating on. Your three most recently accessed experiments are displayed at the top. In the top-right, you can begin the process of creating a new experiment.
Experiment creation and editing
From the dashboard, click the + New Experiment button to create a new experiment. Enter a name, and you will be taken to the Experiment Setup page, where you can begin to configure your experiment. While the experiment is in Draft, clicking the experiment card returns you to Experiment Setup. You can also open the card menu and choose Edit Experiment. Once the experiment is in Collection Mode, clicking the card opens View Data instead.
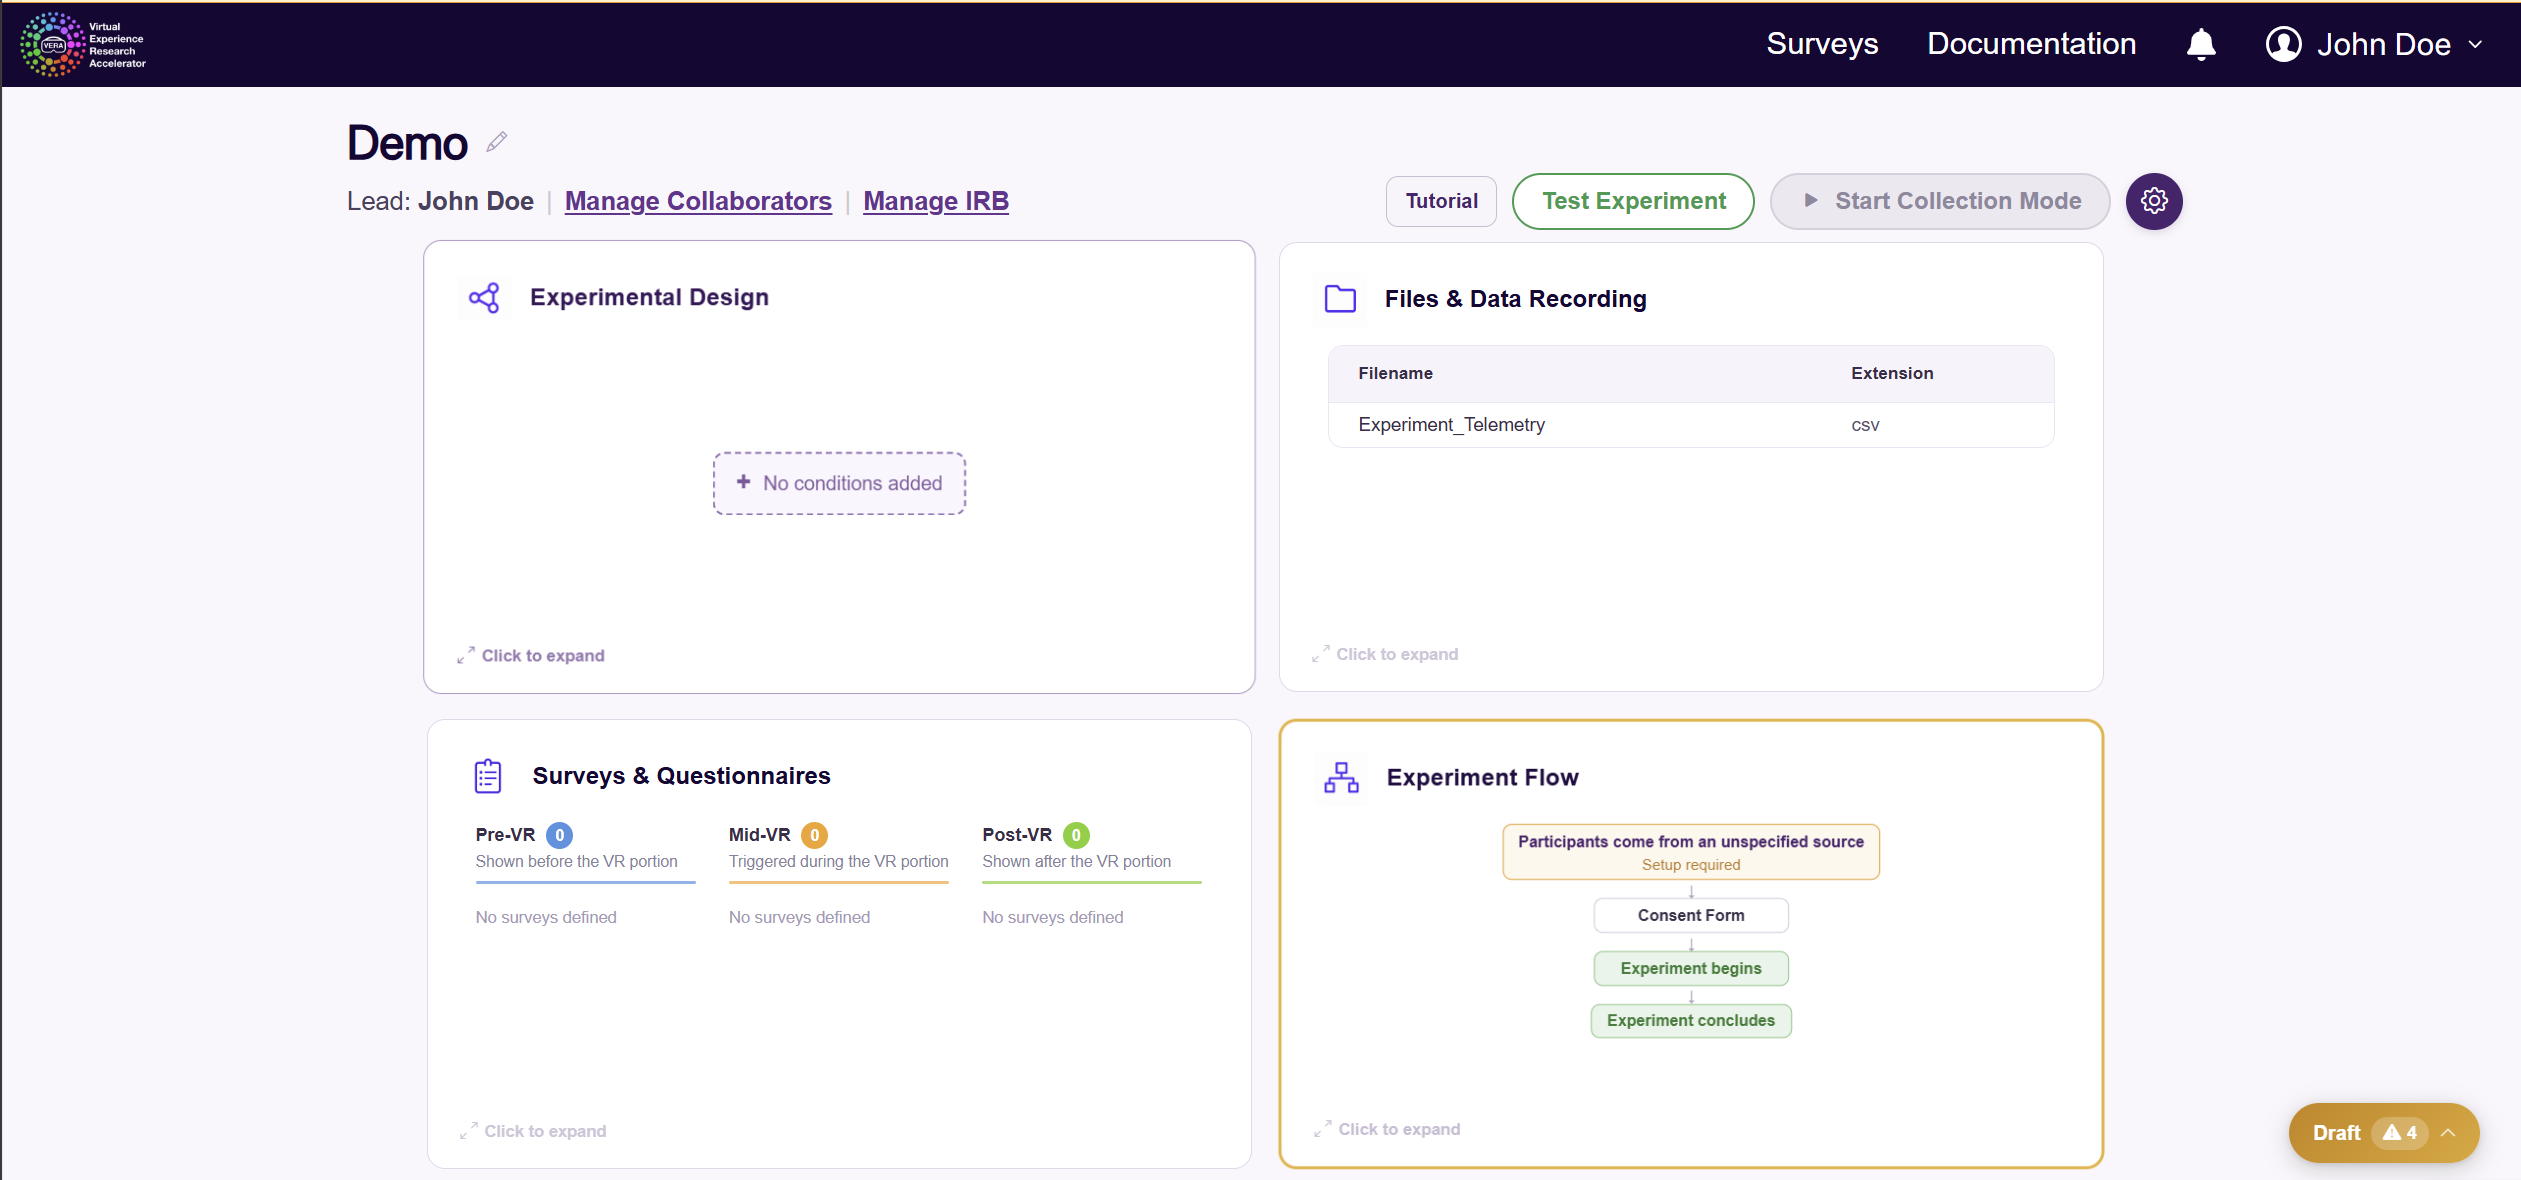
For more information on creating and editing experiments, see the Web interface: creating and managing experiments section.
Experiment results
To see the results of an experiment (either test results or live data), open the card menu on the dashboard and choose View Data. From Experiment Setup, click Test Experiment while the experiment is in Draft, or Run Participants once it is in Collection Mode.
While in Draft mode, this page will display a short overview of how to test your experiment, followed by any available test sessions. While in Collection mode, this page will display every recorded participant session, with options for approving, rejecting, or managing them.
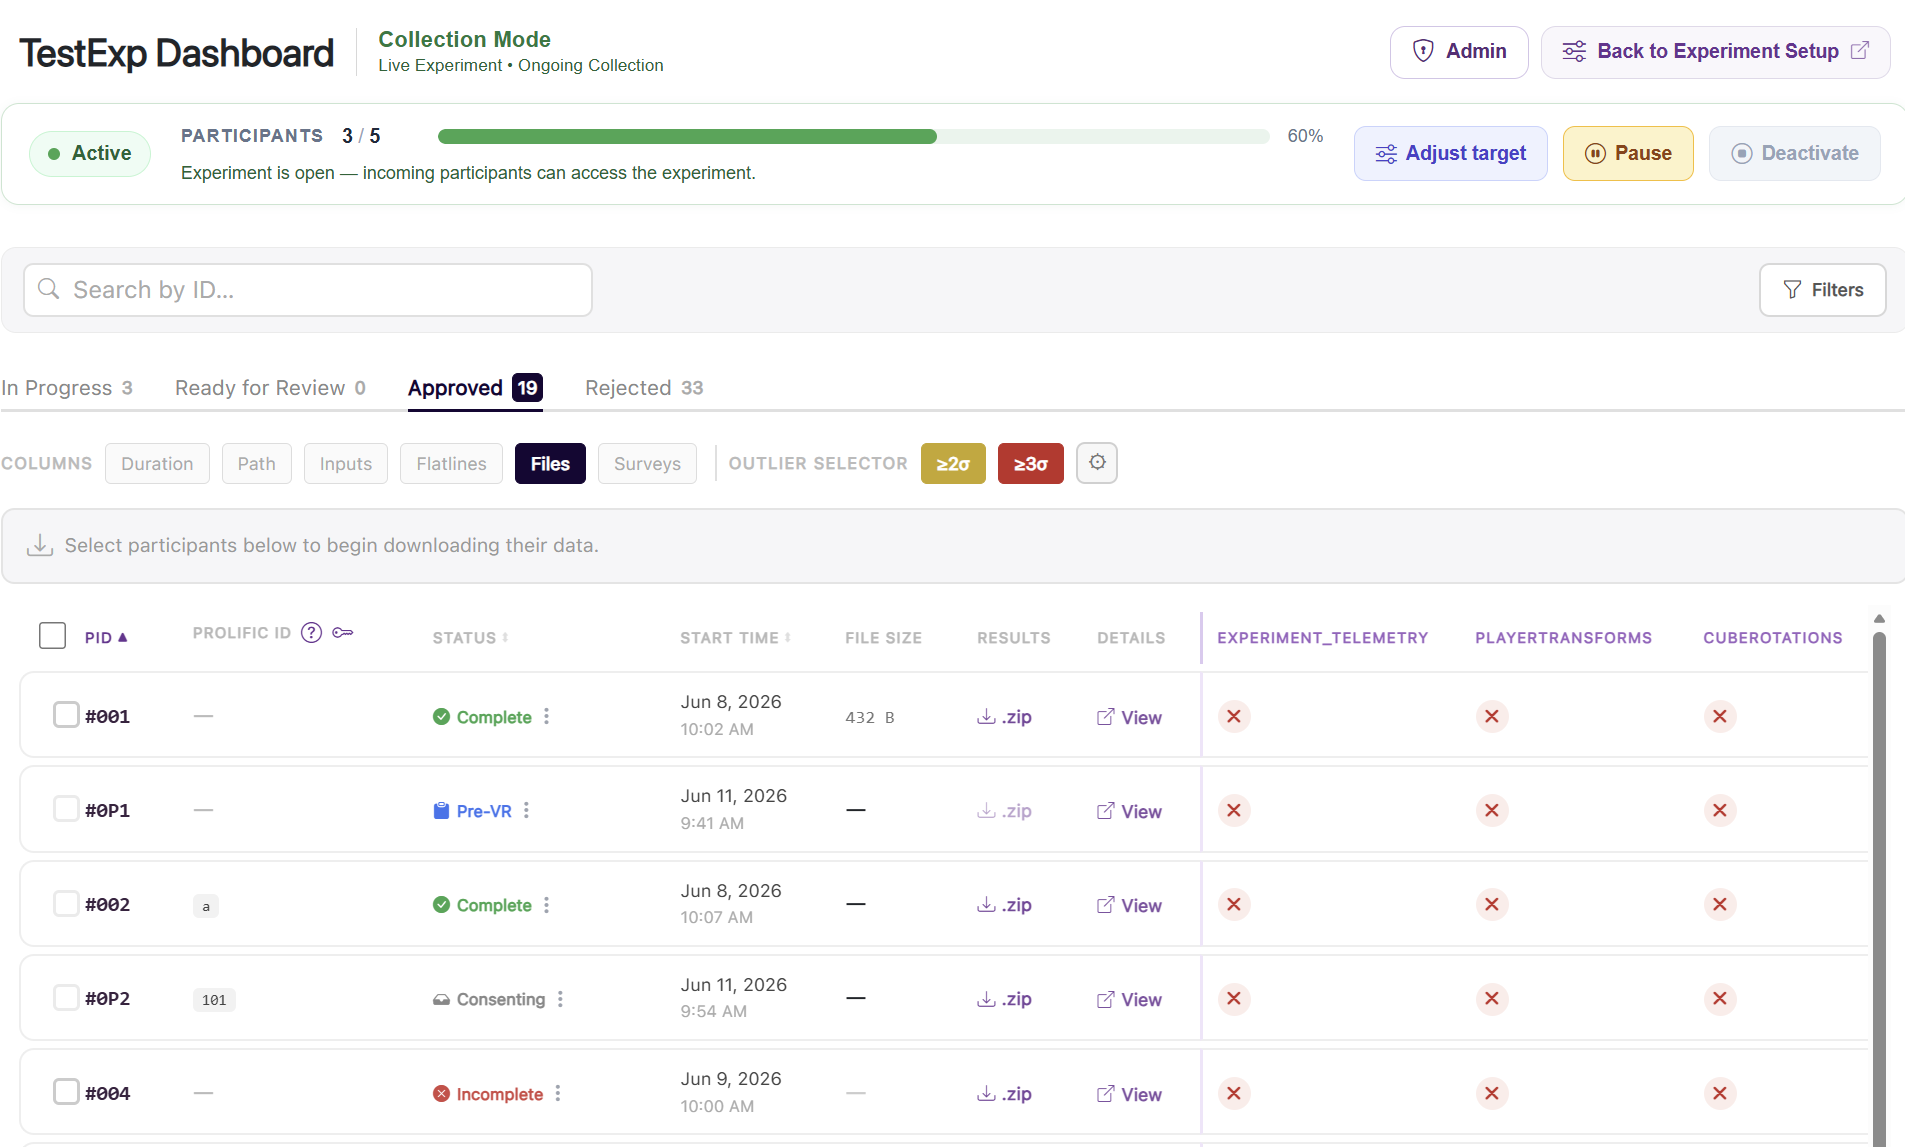
Approved participant data (or test data) will be available to download as a ZIP file, or can be previewed in the web interface. Simply click the “View” or “.zip” button to preview or download the data respectively (this functionality is only available for approved or testing data - unapproved or rejected data will not be available for preview or download).
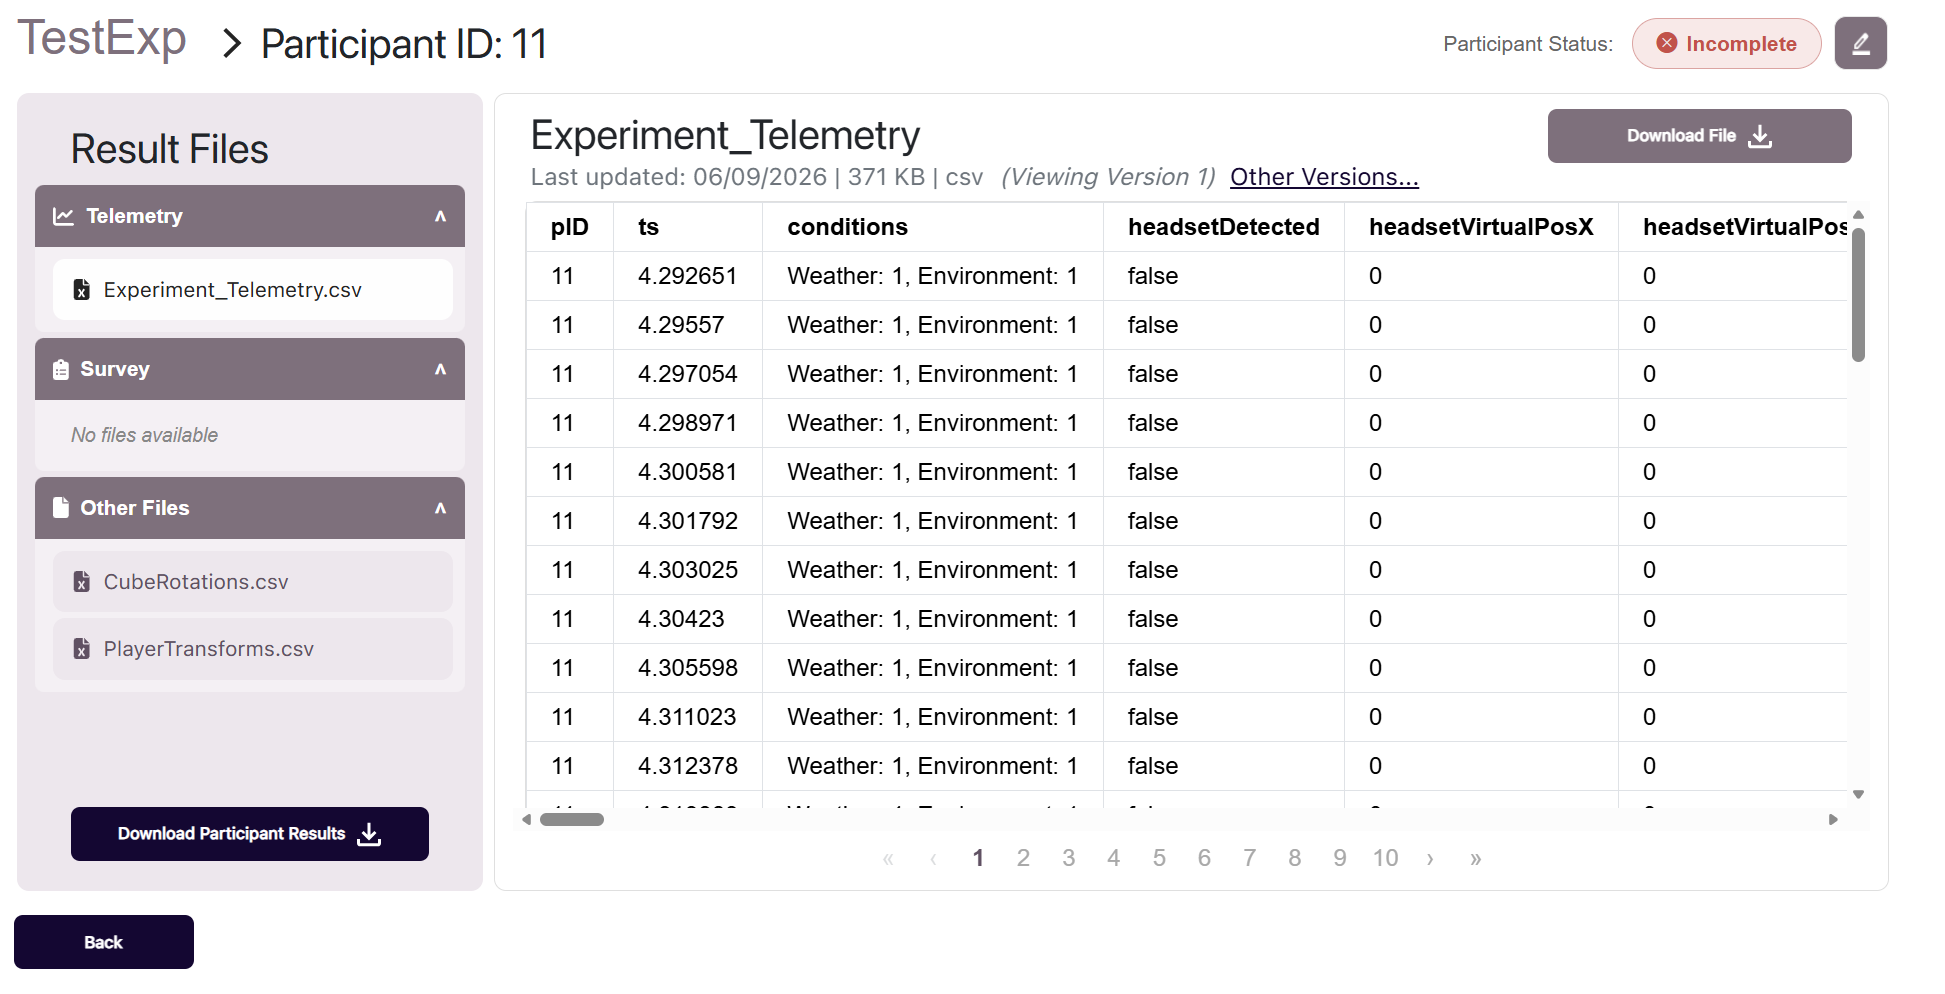
For more information on viewing managing, and downloading data, see the Web interface: viewing and downloading data section.
Next Steps
For more details on specific features of the VERA web interface, refer to the following sections:
Web interface: creating and managing experiments section provides an in-depth guide on creating and managing experiments, including how to define file types, conditions, collaborators, etc.
Web interface: viewing and downloading data section provides a guide on how to view, download, and manage the data collected during your experiments.
Web interface: experiment distributions section provides a guide on how to distribute your experiments remotely using the VERA web interface, and the different available options to do so.
The VERA web interface is only one part of the VERA suite of tools. Fully utilizing VERA requires use of the VERA Unity plugin as well. For more details on the VERA Unity plugin and how to build your experiments from Unity, you can refer to the Unity plugin: overview section.